Tuesday, December 30, 2008

New Years Resolutions

(EDIT: This will be the last post for a few days...going on a quickie tour up the central coast! Hoping to come back with some more great pics and tips for you all! I'll be back the 3rd so Happy New year to all you faithful readers!)

It's that time again.

Anyone have any bicycling resolutions this year?

Bikehugger had a great one:

be more tolerant of Triathletes, as they’re 1/3 cyclists.


For me, I really hear the road calling this year. I've been half-dreaming of doing a cross-country trip and this year feels like it is the year. At the very least, I hope to do a mini bike tour every month. I also want to combine my different passions (photography, touring and writing) into something that will make some (more) money.

Anyone else?

Adventure bound....my bedroom in a bag

Laura and I are heading out on our last adventure of this year and our first adventure of next year :)

It's going to be sort of a "greatest hits" ride. About 70% of the ride we've ridden before, but they're some of our favorite bits of riding and camping. Some highlights will be camping at Refugio hike/bike (which I think is THE best hike/bike spot in Central-So.Cal), riding Santa Rosa road (a great road from our very first tour), Alisal road into Solvang (steep, rocky, narrow but oh what great fun!).

I'm also definitely excited about the new bits we'll get to ride too like Harris Grade, Gaviota Pass, Price Canyon road and the list goes on!

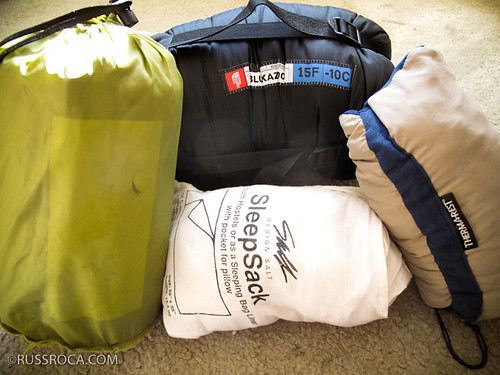
I started packing about a week ago :) Here's what the "bedroom" looks like and is more or less what I carry on most tours. Except during the summer months along the coast, I'll usually forgo the sleeping bag and just take the cotton sleep sack.


I'm carrying an REI inflatable sleeping pad (purchased before our Oregon trip almost two years ago), a down sleeping bag, cotton sleep sack (purchased 9 years ago for my European backpacking trip after college), Thermarest folding pillow. The gear is expensive if you buy everything at once. I've been fortunate to slowly piece together a pretty respectable touring kit over the last few years (hey it's still all cheaper than a car!).

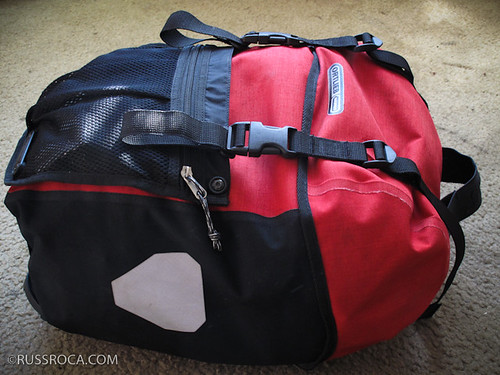
Amazingly, everything fits into one Ortlieb Bike Packer Plus, which I highly recommend. And if you're going to get one, I highly recommend getting it from Wayne at TheTouringStore.com. He's friendly, personable (sort of like Peter White and Riv, you get one-on-one treatment over the phone) and he's got the best prices in town (no tax, no shipping). I've purchased a few tubus racks and lots of Ortlieb gear from him in the past.


I like to try to carry everything into dedicated bags since it facilitates taking trains and buses. Once we get to our start location via train, I'll probably take my sleeping pad and stick it in the space between my seat and Carradice, opening up some room in the Ortlieb for some food.

So that's the bedroom. What do you guys carry and how do you pack it?

Sunday, December 28, 2008

Mystery Tool revealed!


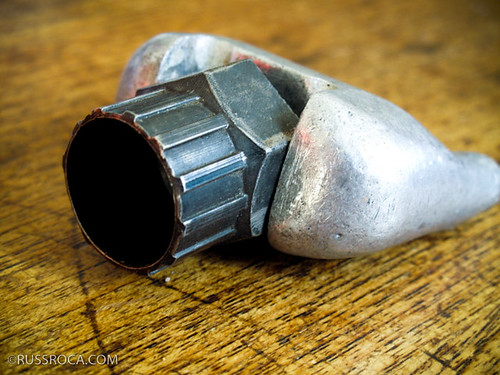
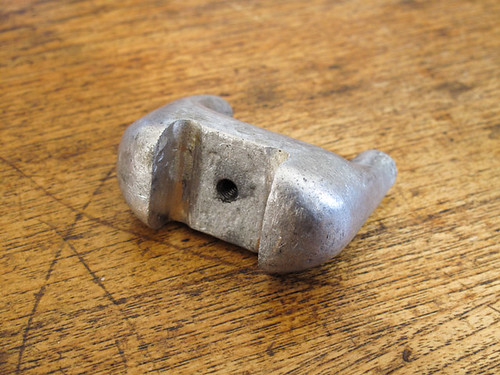
Kudos to Okiecyclist and Doug. The tooth-like implement is indeed a freewheel removal tool, a sort of bench vise on the go. You place the freewheel tool on one end, screw in the skewer (hence the threaded hole) and use the other end to grip a fence, pipe, table or even your handlebars (recommended as last resort). Then you simply turn your wheel to break the freewheel free!


Why would you use this tool in this day and age? Well, many still use freewheels. A Phil Wood rear freewheel hub is about 1/3 the price of the cassette hub equivalent and with that you could build a dishless wheel where you don't have to worry about carrying different length spokes for the rear. In fact, you could build a rear and front wheel that use the same exact length spokes.


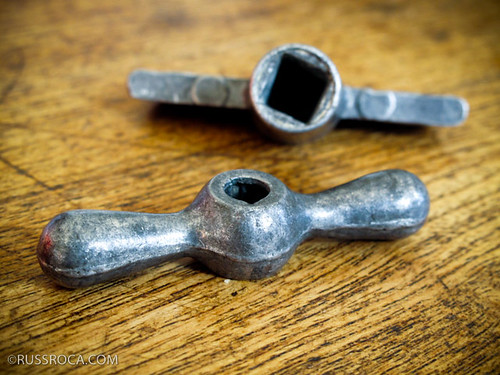
Among the other interesting tools that Chris carries in his Ur-BikeBurrito are faucet keys. You may come upon a spigot that has been disabled. If you were in a pinch for water and you had these faucet keys you could turn on the water with no problem.


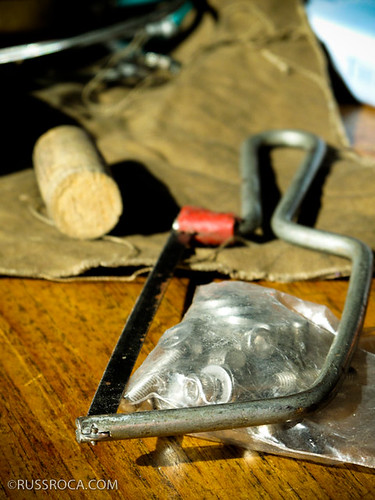
You may also notice a wine bottle cork that can be used as stopper in the bottom of your seatpost where you could carry spokes or emergency cash.


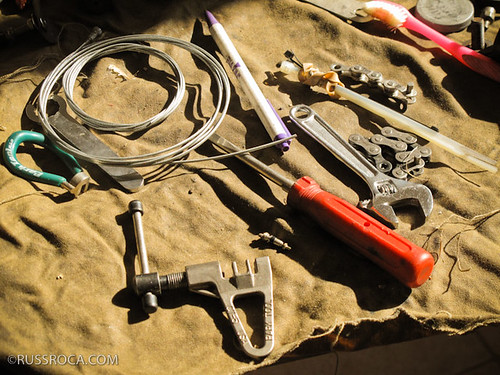
He also carries a small saw and files for on the road machining. Of course, if you're traveling on well trafficked roads with towns every few miles, it might not be necessary to carry all these things. But for adventure touring where you're sure to be puttering along a dirt road, 70 to 100 miles from a small town, these things are good to carry for interesting eventualities.

Saturday, December 27, 2008

Tea for Two


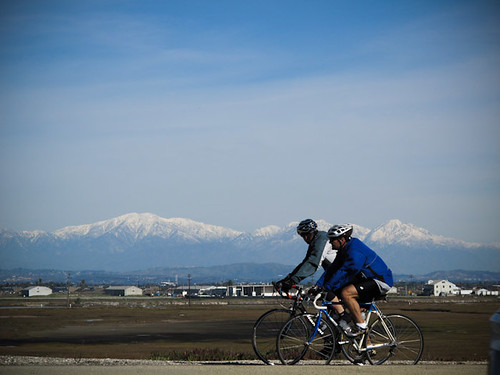
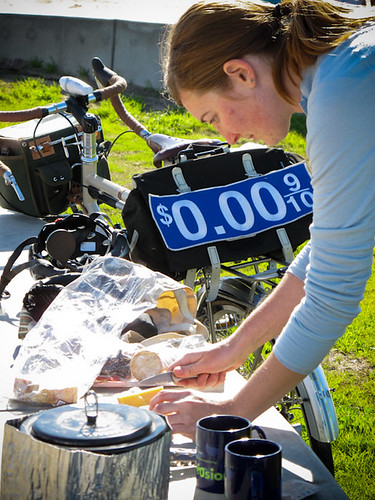
The day was beautiful today and I proposed a bicycle ride through the (imagined) French countryside with a tea stop at the halfway point. While riding through Long Beach isn't the most rustic and Old World of settings, the goal of riding somewhere to light up a stove and make some tea added a bit more fun to a simple "out and back" ride.


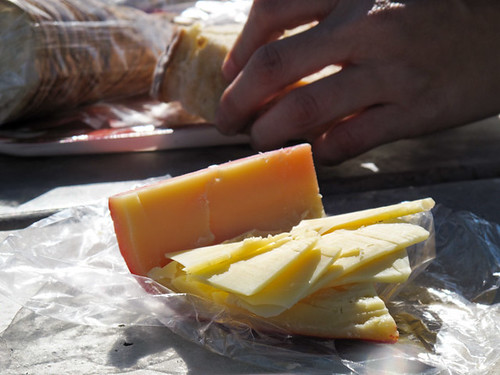
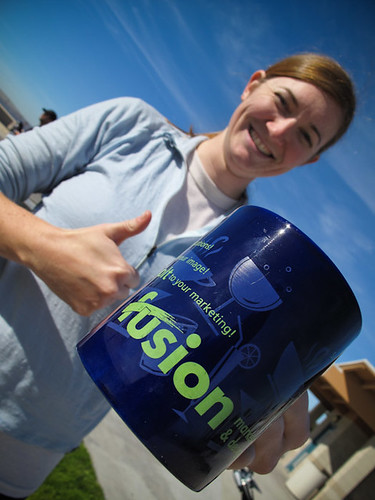
We packed up a Trangia stove, a pot, two tea bags, two mugs, some fuel, bread, crackers, cheese and some cured meat. Everything fit in my Carradice Camper.


We rode for about 40 minutes and stopped by the beach, set up the stove and were drinking tea in about 9 minutes. We had a light lunch and rode home.


Simple, yet fun. Transforming some boring "base miles" into something a bit more epicurean. I highly recommend it.

Friday, December 26, 2008

Epicurean Cyclist Pop Quiz: Name That Tool


I was over at my friend Chris' house today and he was showing me the contents of his tool kit that he takes with him while on tour. Chris likes to go really off the beaten track, often times 70-100 miles from the nearest small town, which is often when things tend to break down. Thus, he prepares for everything and even carries with him things like a hack saw, brass solder and files (in case he has to do some light machining in the middle of nowhere...which he has, btw).

This particular tool was pretty striking. It is no longer produced but would prove vital if you were doing true adventure touring. It looks a bit like a giant silver tooth, doesn't it?

Can anyone guess what it is and what it does?


Three Mirrors..back to back to back!


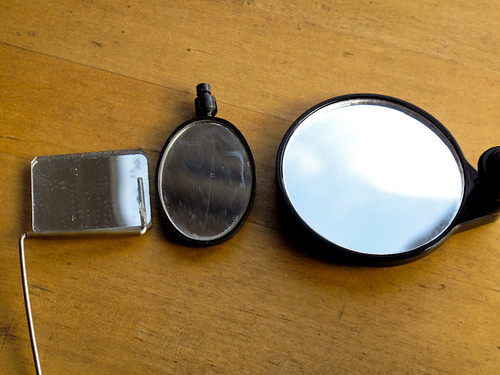
For mirror users, this should be an interesting post. I've been doing a test of three great cycling mirrors the last few days (from L-R: Take A Look Mirror, CycleAware Reflex Mirror , Efficient Velo Tools' Safe Zone mirror).


The Take A Look and Cycle Aware mirrors are fairly common and can be purchased at many LBS's and even REI. The EVT/BicycleToolMaker Safe Zone mirror isn't so common, but it is really an interesting and great mirror.


Take A Look Mirror
The TAL mirror is the first mirror I ever owned. It's simple to use and very robust. The mirror clips on to the arms of your sunglasses and stays on with a pretty strong friction fit. From there the mirror swivels and you can also bend the arms (usually not necessary) to get it in the right spot. It is relatively light weight and after a few hours of use, you hardly notice it.

The TAL is a great mirror and really, my only gripe is that you have to be wearing sunglasses/glasses to use it. If you have dark shades and you commute at night, it either means forgoing a mirror completely or getting shades with replaceable lenses. I have lost two of these because I have a terrible habit of misplacing my sunglasses.

CycleAware Reflex Mirror
The CA mirror solved my mirrorless situation due to misplacing my sunglasses. For me, I prefer helmet mounted mirrors since I always ride with a helmet. I don't have to fiddle with changing lenses on glasses (that I have a feeling I will ultimately lose :).

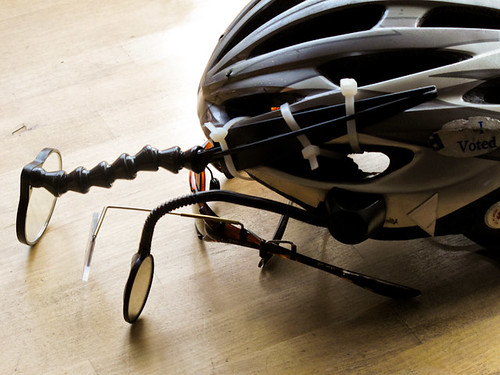
With the CA mirror you have to semi-permanently adhere a ball-joint attachment to the side of your helmet. The arm (the socket end of the joint) snaps on to the adhered portion. From there, the mirror can be rotated on the joint or you can articulate the arm of the mirror or you can also articulate the little ball joint on the mirror itself.

Of the three, the CA mirror is the most easiest to finely tune. There are lots of points of adjustment, but at the same time that means lots of points of potential failure. For one, the included adhesive doesn't last very long. I usually sand down the helmet and use Super Glue and a C-clamp to make sure it doesn't pop off.

Also, over time, the various plastic ball joints wear and don't quite hold their positions like they use to. To solve this, CA, sells a replaceable parts kit for their mirror.

Another issue that some may have with the CA mirror is that it is vertically oriented and not horizontally oriented (like the TAL mirror). Going from a TAL to the CA takes some adjustment because of this, but you'll cope.

With all these issues, it is still a fine mirror and I have used one with great success for almost two years.

EVT Safe Zone Mirror

That leads us to the EVT Safe Zone Mirror. The EVT mirror is easily the largest mirror of the three. This is the HD of bicycle mirrors! You don't have to worry about orientation because it's round and it's HUGE. Now for some, me included, this can be a bit strange at first. Surely, something that big in front of your face has to cause a big blind spot. I've found in the few weeks I've been testing the mirror that your eyes adjust and you can see "through" the mirror, so to speak.

If you can get over the size and Alien-esque lock-line articulating arm, the view is fantastic!

Mounting can be a little finicky, depending on your helmet. Unlike the CA mirror that uses adhesives, the way you mount the EVT mirror is by using zip ties. There is a large spine with slots and you run ties through the slots and through the vents of your helmet. It took me about two different set-ups to find one that I liked best.

The CA allows you to place it exactly where you need it. The EVT gives you a stronger mount, but you may or may not be able to get it exactly where you want it depending on your helmet's vent pattern (won't work on Nutcase helmets).

You adjust the mirror by 1)using the palm of your hand to move the mirror 2) using your free hand to hold your helmet still. This is necessary because the articulating arm has a pretty tight friction fit. With the CA, I can usually just position it with two fingers. The EVT is a two handed affair, but this is good in the long run because the darn thing won't ever be shaken out of place. This has to be one of the most robust bicycling mirrors on the market.

Now, this great view and sturdy build come at a price. The EVT retails for around $40, about double the price of the other mirrors and it isn't widely available yet (the inventor encourages you to encourage your LBS to carry it). However, it should be the last helmet mirror you would ever need to buy for a long time. I'll write another longer term follow-up after a few more months of use to see if the friction fit is still as tight.
Monday, December 22, 2008

Orange stuff!

All my good friends know my favorite color is orange. I have orange shoes, I have owned 3 orange bikes, I love orange juice, etc., So I was poking around the interwebs and found some great cycling stuff in orange. All us orange aficionados can rejoice!

Rivendell
Orange Wool Cycling Cap with Rivendell Logo
Kucharik Green/Orange Wool Cycling Cap
Kucharik Orange Ear Warmers
Orange Kucharik Wool LS Jersey

Rapha
Rapha Club Jersey

Earth, Wind and Rider
Molteni Orange and Blue (or Black) LS Wool Jersey

Walz Caps
Burnt Orange Wool cap

SWOBO
Swobo Orange SS Jersey
Orange Men's Merino Sunday Bobby

Surly
Surly 1x1 Frameset